
How to install a control panel on your VPS
How to install a control panel on your VPS
We do not recommend installing on the same server several control panels. Since this can lead to failures in their work.
1. Follow the link https://vpsget.com//clientarea.php, which was sent to you in an email with the details of your new KVM VPS. If the system asks for login information, enter your email address and password that you used during registration.
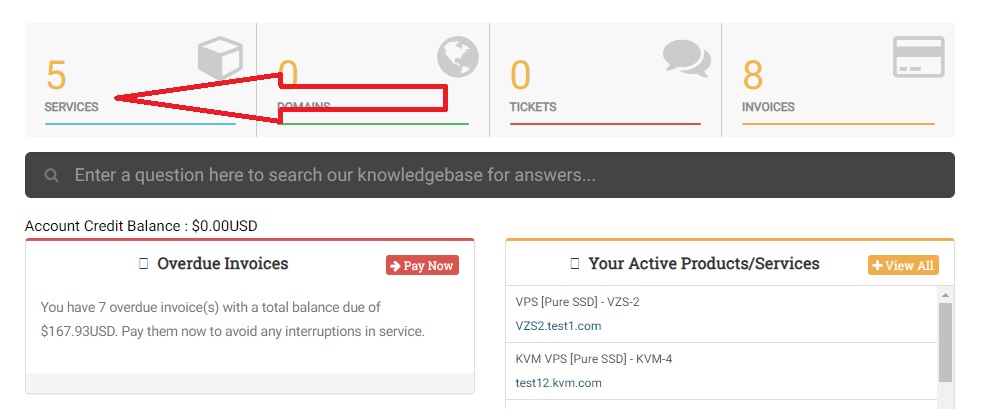
2. Press the Services button:
3. Click on the desired service:
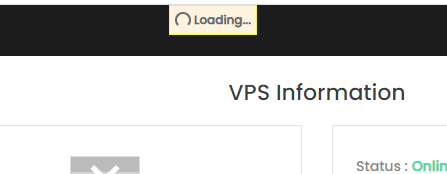
Wait a second while VPS management features load:
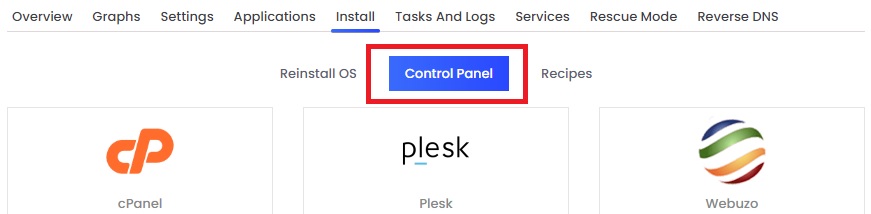
4. Under Server Settings click on the "Install" tab:
5. Then click on the "Control Panel" button:
6. Click on the panel that you want to install:
PLEASE NOTE:
• The panel will be installed only on the OS with which it is compatible. Otherwise, there will be a message like this:
The Control panel cannot be installed on OS_name
• We also strongly recommend installing the panel on a clean OS and not installing one panel on top of another.
• If you want to change the panel, you must completely reinstall the OS and only then install the new panel. Of course, two panels can work together, but there will be no stable work.
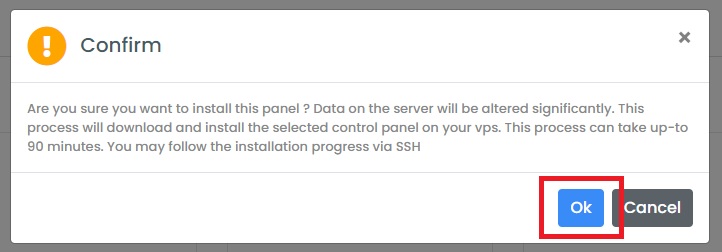
7. In the window that appears, click Ok:
8. You should see the success message, click Ok.:
9. Now we need to restart the VPS manually. To do this, click on the Restart the VPS button:
The circle instead of the button will spin:
Wait for the message to appear.
10. In the window that appears, click Ok:
11. After rebooting the VPS, you need to wait 5-10 minutes (depending on the panel and operating system) until the control panel is installed.
12. To check the status of the installation, click on the Tasks and Logs button:
13. In the logs window, find the Install Control Panel Completed line. It indicates that the control panel has been successfully installed:
Use the following tips to access the installed panels.
cPanel:
Enter the following address into your browser: https://Your IP Address:2087
Login: root
Password: Your root user password
Webmin:
Enter the following address into your browser: https://Your IP Address:10000
Login: root
Password: Your root user password
CentOS Panel (CWP):
Enter the following address into your browser: https://Your IP Address:2031
Login: root
Password: Your root user password
Plesk:
To see the link to enter the admin panel, run the plesk login command.
Then follow the link provided and fill out the Contact Information form.
VestaCP:
Enter the following address into your browser: https://Your IP Address:8083
Login: root
Password: Your root user password
Interworx:
Enter the following address into your browser: https://Your IP Address:2443
The first time you log in, you will need to fill in the fields on the WELCOME TO NODEWORX!
ISPConfig3:
Enter the following address into your browser: https://Your IP Address:8080 or 81
Login: root
Password: Your root user password


Was this answer helpful?
Also Read
Powered by WHMCompleteSolution
