
Centos Web Panel
In this article we will use the main features of the Centos Web Panel.
1. Create user account
In the left menu: "User Accounts" -> "New Account" -> *fill the fields* -> "Create".
2. Add domain
In the left menu: "Domains" -> "Add domains" -> *fill the fields and edit path* -> "Create".
Note: the domain you have specified while the user creation already exists in system and it doesn't need to be created again.
The domain path by default is /home/username/public_html, so don't forget to change path when create a new domain.
3. Upload files
3.1 FTP
The user account also is the FTP account, so you can use it for uploading files.
In our case the credentials are as follows (IT'S JUST AN EXAMPLE):
hostname: IP of the VPS
username: exuser
password: 9YQV5wJD
port: 21
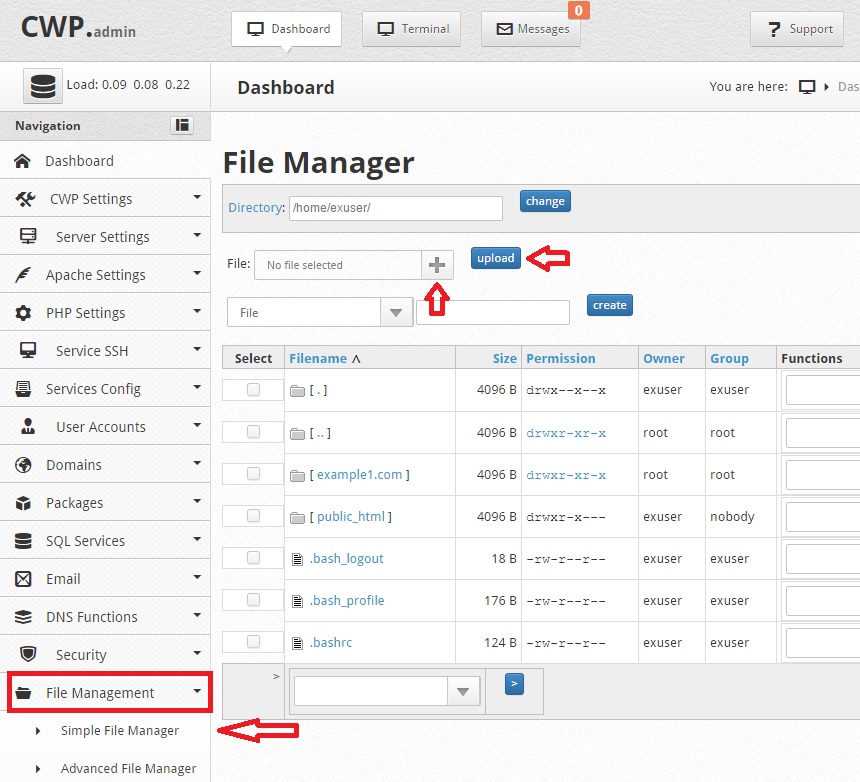
3.2 GUI
Alternatively you can use the web gui for uploading files.
In the left menu: "File Management" -> "Simple File Manager".
4. Create MySQL Database
4.1 MySQL Manager
In the left menu: "SQL Services" -> "MySQL Manager" -> "Create Database and User" -> *fill all fields* -> "Create Database".
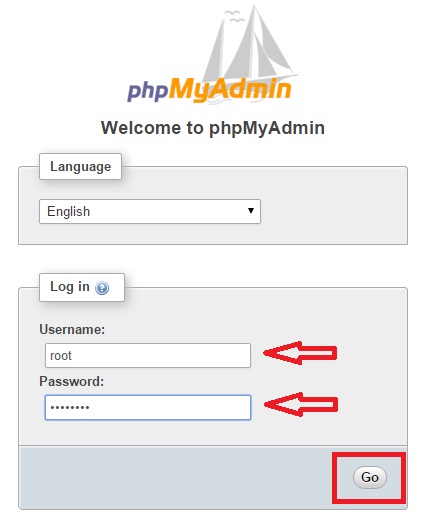
4.2 phpMyAdmin
In the left menu: "SQL Services" -> "phpMyAdmin"
Username: root
Password you can find in the file:
/usr/local/cwpsrv/htdocs/resources/admin/include/db_conn.php
For example, if you see this string in the file:
$db_pass = 'uYbvFR5e2DEga';
This means that your MySQL password for user root is: uYbvFR5e2DEga
If you are experiencing difficulties on this stage, don't hesitate to contact our support team, it is free.
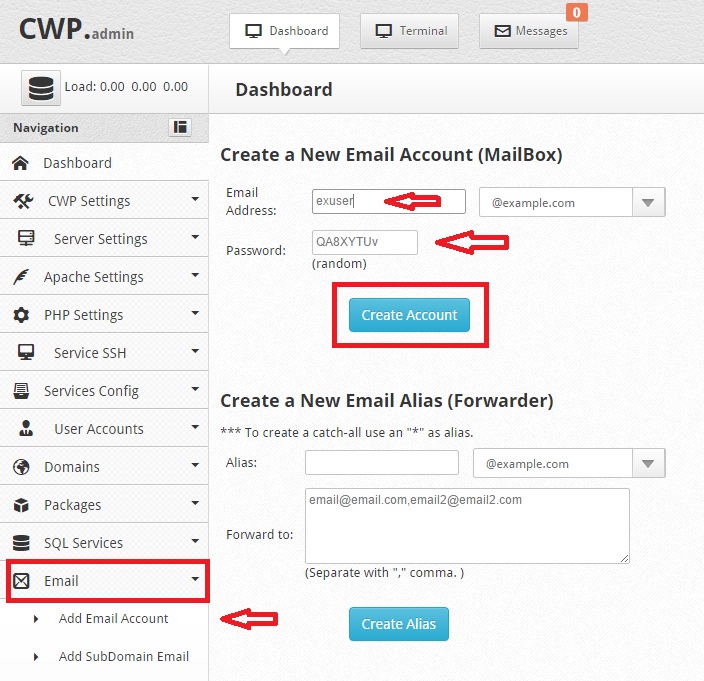
5. Create maibox
In the left menu: "Email" -> "Add Email Account" -> *fill the fields* -> "Create Account".
5.1 Accessing mailbox.
You can access your mailbox using Roundcube webmail or an external mail client, such as MS Outlook.
Roundcube webmail:
In the left menu: "Email" -> "Roundcube Webmail"
6. Account migration from cPanel.
Centos Web Panel (CWP) has a native ability of migration accounts from cPanel.
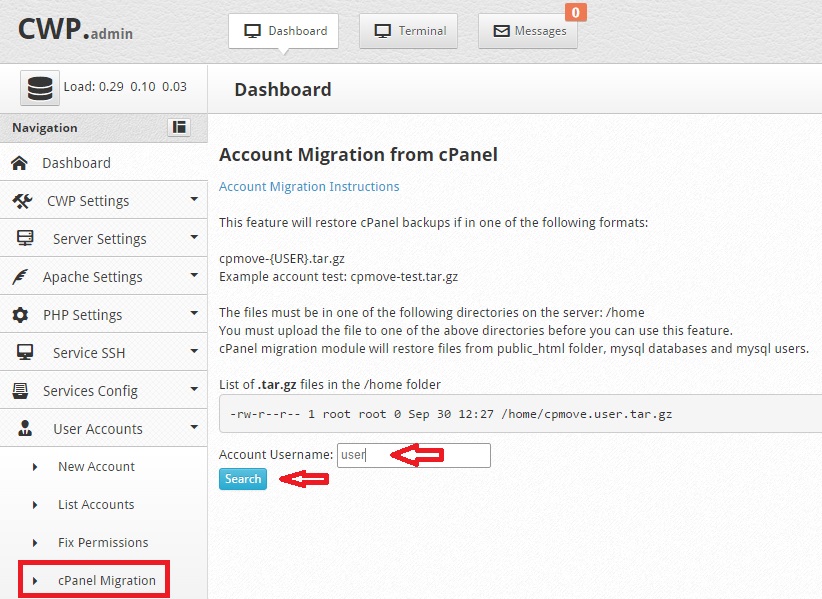
First you need to upload full cPanel account backup to the /home/ directory of the CWP server.
By the way, you can specify FTP host/port/username/password in cPanel's backup wizard and the backup will be automatically uploaded once it's ready.
Ok, you have the backup file uploaded. For example /home/cpmove.user.tar.gz.
In the left menu: "User Accounts" -> "cPanel Migration" -> *enter account's name* -> "Search".
Account's backup archive should be detected. If so,restore it by pressing "Restore" button.
7. Security tips
It is not yet recommended to use this panel in production.
Install it only for comfortable use of your VPS.
7.1 Change the default (22) SSH port.
In the left menu: "Services Config" -> "SSH Configuration".
You will see that the default SSH port is 22:
Revove "#" and edit port. We recommend to use port between 2000 and 65536. For example 21647.
Make sure that the port you have chosen is not in use (In the left menu: "Service SSH" -> "Netstat Port Usage")
If the port is not in use, press "Save changes".
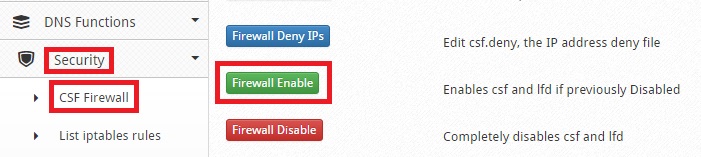
7.2 Enable CSF Firewall.
In the left menu: "Security" -> "CSF Firewall" -> "Firewall Enable".
7.3 Install Mod Security
In the left menu: "Security" -> "Mod Security" -> "Install Mod Security".
Install process will run in background, please allow it a few minutes to finish.


Was this answer helpful?
Also Read
Powered by WHMCompleteSolution
